
How to Make a Model Ship?
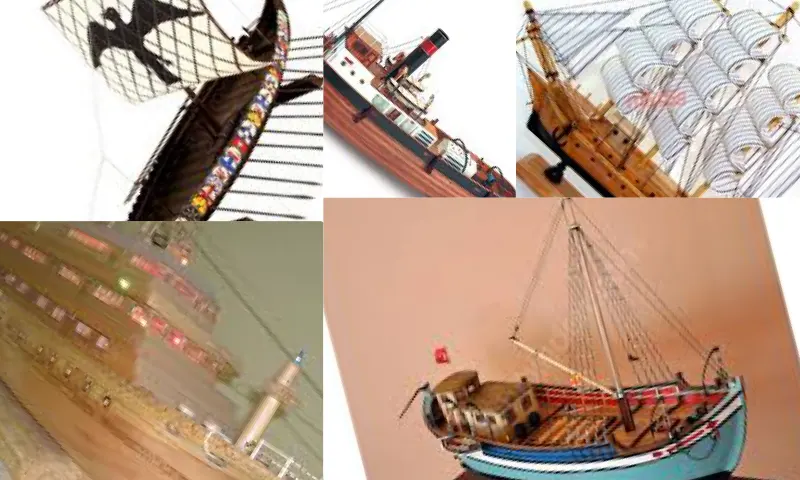
Preparations to Make While Building Your Ship
Model ship building is a hobby that requires great care, is a bit costly, but as painstaking as it is classic and awe-inspiring. It has some of the most special products that can be created by pursuing a hobby. Model ships, which seem chaotic to our eyes and which we sometimes ask ourselves, "Who can do this, how?", do not descend from the sky, of course. You don't need to be a great artist or master as much as we think. All you need is patience and care. Anyone who can concentrate on their work and think a little analytically, if they show enough patience and start building their ship with care, believe me, they will achieve success in the end! If we can encourage those who say, "I will strive and do this job!" after the introductory paragraph, let's briefly tell them about the stages of model ship building: Model ship building is a somewhat costly hobby. You will use many materials. Plywood and strips are the foundation of this job. In addition, depending on the model you choose, you will use brass, copper or aluminum plates; string, and fabric for a sailboat model. You also need tools like a fretsaw to shape all these materials and various adhesives to put these materials together. As a final basic material, let's add paint and brushes, of course. In fact, while we're talking about ready-to-use materials, let's give a few details and move on. For the plywoods that form the base of your ship, 4 mm poplar can be preferred. Because poplar is the easiest type of wood to work with. Your paint will, of course, be model paint. There are several types of adhesives: white glue for the wooden frame, super glue for sticking the strips, and waterproof epoxy if you want a model that will actually float in water. When you start building your ship, you first need to simplify the original plan of the ship and prepare a model plan.
Procuring Materials
You will cut the parts of your model based on the model plan. In the first stage, you will build the keel and ribs that form the frame from our main material, plywood. On top of that, you will place the deck from thin plywood. Thus, the foundation of the ship will be formed. The next stage is to cover this base part with thin strips. We recommend choosing kiln-dried strips to provide resistance against impacts. After the planking process with strips is finished, you can complete the main part of your ship by placing the head and block at the ends of the ship's deck. The next stage is the deck above. What you will do here actually varies greatly depending on the model you are making. However, if we take a majestic sailboat, which is one of the most preferred models as an example, after the masts and yards are prepared and glued to the deck, the sails cut from fabric to appropriate sizes will be carefully tied with ropes. Of course, any details desired on the deck should also be added. While we're taking the sailboat model as an example, let's give a tip to those who want to make this model: You can use tea if you want to give the sailcloth an aged look! We've reached the final stage; painting. The only point you need to pay attention to is to prepare a paintable surface by filling cracks with putty and sanding before painting. Then, we will complete our work by beautifully painting our ship from light to dark colors.